Základy použití TISYM
(k dipozici pouze v angličtině)New company registration
First what to do when you decide use TISYM in your company and with your customers is new company registration. Please go here and fill registration form.

First fill your Company name, then you can fill Domain that tell, what URL will be used for your TISYM. If you leave this field empty, domain will be generated automatic from Company name. For example if is your company name "My favourite company", then automatic TISYM domain will be generated as my-favourite-company, and URL will be my-favourite-company.tisym.com . So, if is you company name long, is recommended to fill some short form to field Domain, for our case for example "mycomp", and then URL will be mycomp.tisym.com.
Next you must fill First name, Last name, Email, Username and Password of person, that will be main administrator of TISYM, so proably your person. Password must be, by security reasons, filled once more to field Password check.
Field Timezone tells what is Timezone of location where are you. Because next persons, that will be work with your TISYM company instance, can work from places with different timezone, all dates and times that TISYM use are shown in Timezone of logged user. Timezone is detected automatic, so please only check if is detected Timezone correct.
Last field in registration form is Force HTTPS. HTTPS is secured protocol for encrypt internet communication between TISYM user PC and webserver where TISYM is working. We must notice, that if you check YES, all communication will be encrypted, but some browsers can show some messages, that used SSL certificate is not trustworthy. Reason is, that all TISYM company instances is sharing the same SSL certificate for HTTPS connection. If you want the own certificate, please contact us on .
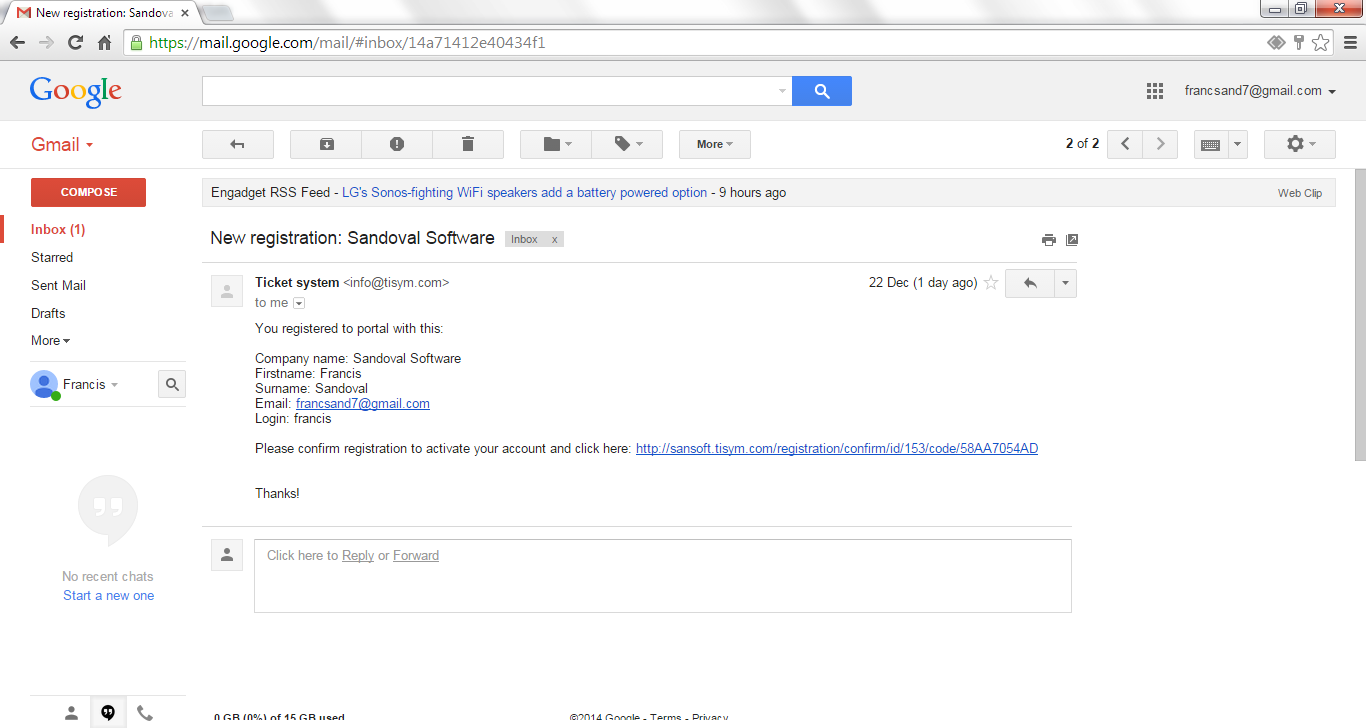
Now you can submit the registration form by click to button Register. To your email address, that you filled above, is sent message with registration info and link to confirm this registration, please look at this message and click this link.

After this step is registration finished, and you can login to TISYM. URL address of your company TISYM instance you can see in sent email, please type it to browser.

Insert customers, persons and projects
Now when you are logged first time to TISYM as main administrator, you must insert your customers, their persons or own cooperstors and projects what you want using TISYM for. After this steps you can give access to TISYM persons that you want to manage (create, solve) tickets. This persons can be employments of your company or can be external persons of from your customers.
To list of all customers, please click to first item in top menu called Customers, and you see that one customer is in TISYM inserted already. This is your own company and was created automatic after registration.

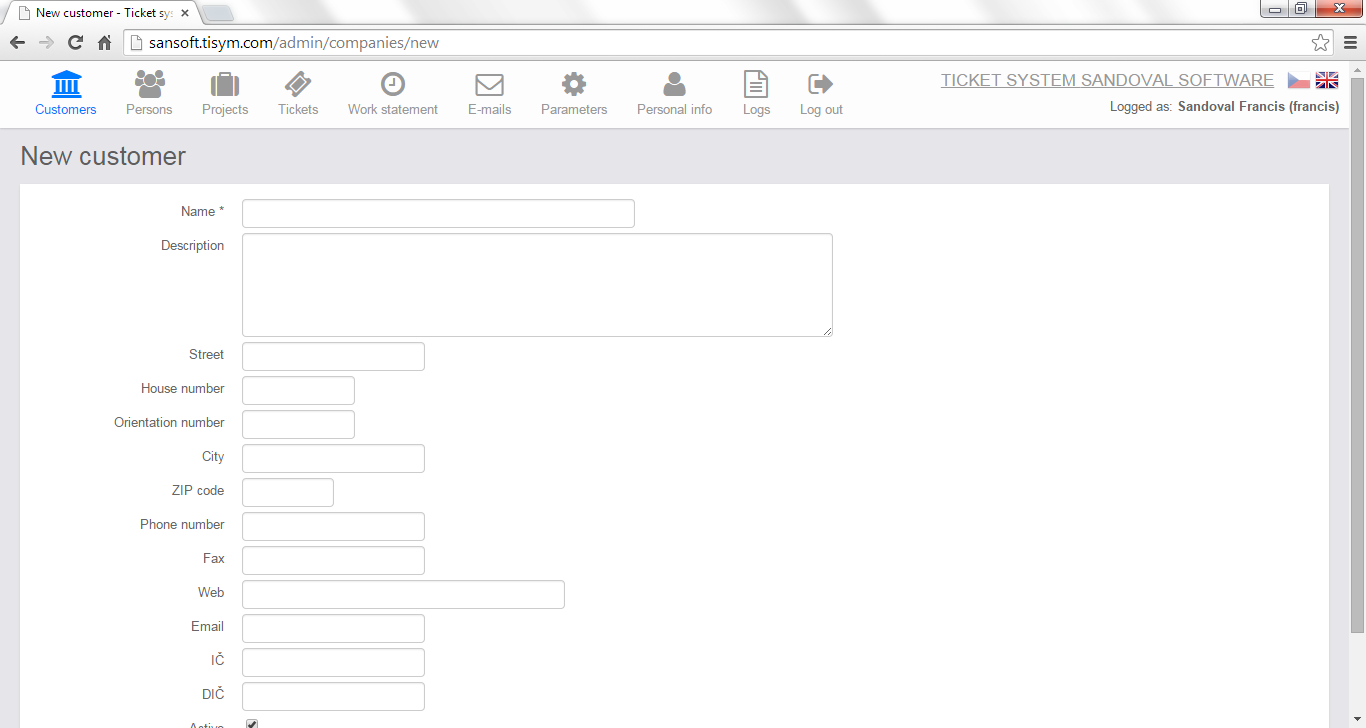
To add new one customer, please click to New button and form for new customer will be shown

There are many fields that you can fill for every customer, but most important is company Name. Please fill it, and if you want, you can fill next fields for your evidency too. Last is checkbox Active for separate customers that are active in your projects or not. Not active customers will be not shown in next modules of TISYM. After click to Save button will be new company inserted to TISYM and list of customers will be shown. There is next two different save buttons, difference is only in what is shown after insert. Save and new will show form for create next customer after saving and Save and stay will shown curent customer for next editing.
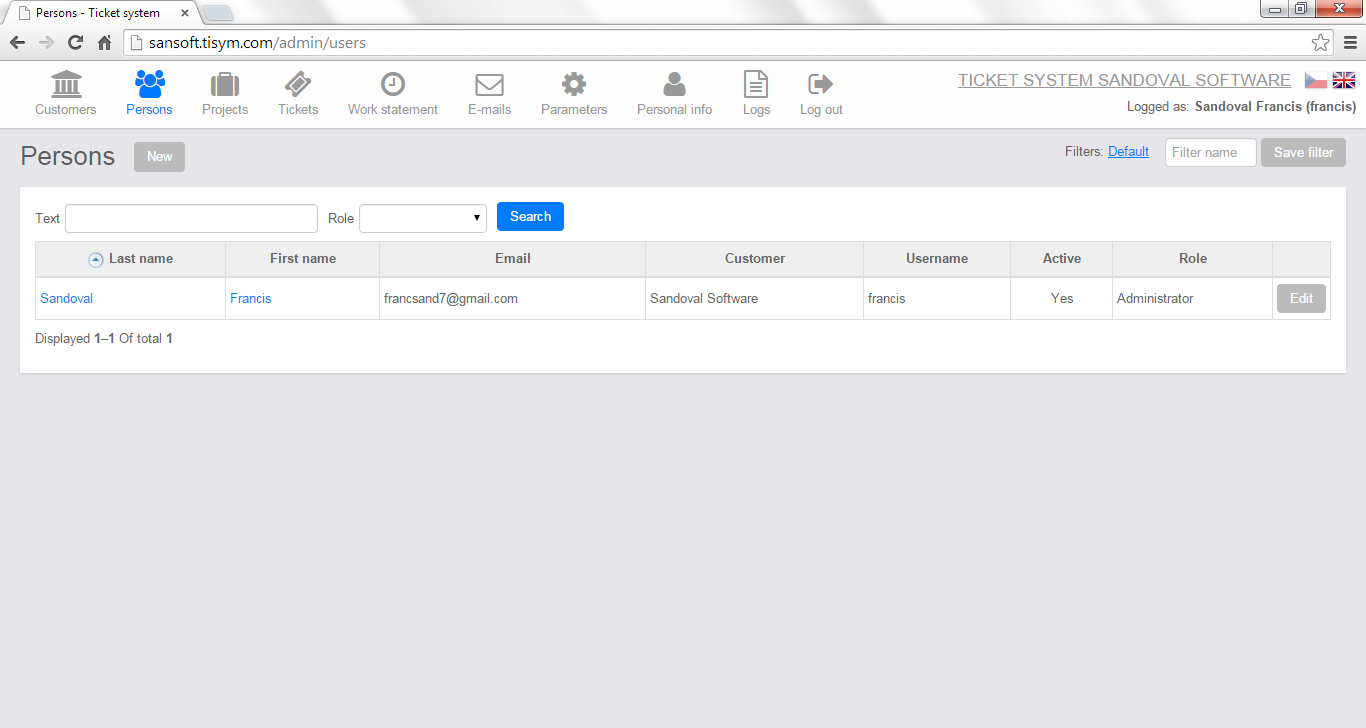
Now when you have your customers created, you can insert persons that will be working with TISYM or who you want send emails from TISYM with. Persons in TISYM can have three roles:
- Administrator - person that can login to TISYM and can do anything
- Solver - internal person (your company employers) that will be solve tickets. He has access only to tickets from his project
- Contact - external person (customers employers) that will be created tickets and check solutions. He has access only to tickets from his projects

New person you can create by click to button New, that shown form for new person attributes.

You must choose right Role, if it is internal person that will be use TISYM for solve tickets created by your customers, please choose Solver. If is it your customer person, that will be created tickets and check its solutions, please select Contact. If is it internal person that can do anything please choose "Administrator".
Next you must select company of this person called Customer. If is it internal employe, select own company as customer. Many of next fields can be filled too, mandatory fields are marked by star. If you want give this person access to TISYM, you must fill Username. Password you can fill manually or you can use Generate and send password checkbox, that will generate random password and send it to person email adress. Only Active persons can loggin to TISYM. Old person you can mark as not active and then will be not shown in next parts of TISYM
You can select Language of TISYM that will be used for this person. It is not only language of visible texts, but for example language of emails too. Timezone was explained in Registration chapter.
Some of this setting will be able person change self after login to TISYM and choose Personal info top menu item.
Next step what is needed to do is create Projects. Then will be possible create and solve project tickets. Form for project will be shown when you click on
Projects
top menu item and click New button.

Here you must fill project Name, one o more Customers who is project for and you must assign external persons that will have access to create tickets and check solutions of this project tickets - field Contacts project and internal persons that can solve tickets in this Project - field Solvers. Only to assigned projects will have contacts and solvers access. If you are interested in this project as solver, please dont forget assign yourself as solver too.
You can fill some internal Notice to this project, and mark project as Active. Only active projects are used in next part of TISYM.
Now when you inserted first customers, persons and projects, you have prepared TISYM to start use tickets. All customers, persons and project attributes you can change when some changed. For showing edit form, you must click on button Edit in right part of list of items. Please dont forget give login and password to your internal persons (Solvers) and employe of your company customers (Contacts) and let they start. Look and TISYM functions are little diferent when is logged person with role Solver and Contact. Contact is primary focused to create tickets to ask solutions by your company solvers and next check if solution is good. And Solver is primary focused to solve tickets. Detailed explanation of work with tickets and next TISYM modules will be here added in next time.
Notice to TISYM multilanguaging: If you want use TISYM under diferent language than is now available, and are you able do translations from english to your language, please contact us on info@tisym.com. Thanks
